How To Make A Dining Bench
It may only just be the beginning of autumn but I'm already in full-on Christmas planning mode. Now, before you start thinking that I've finally lost my marbles, there is a reason – there will be 13 people in our apartment for the holidays!
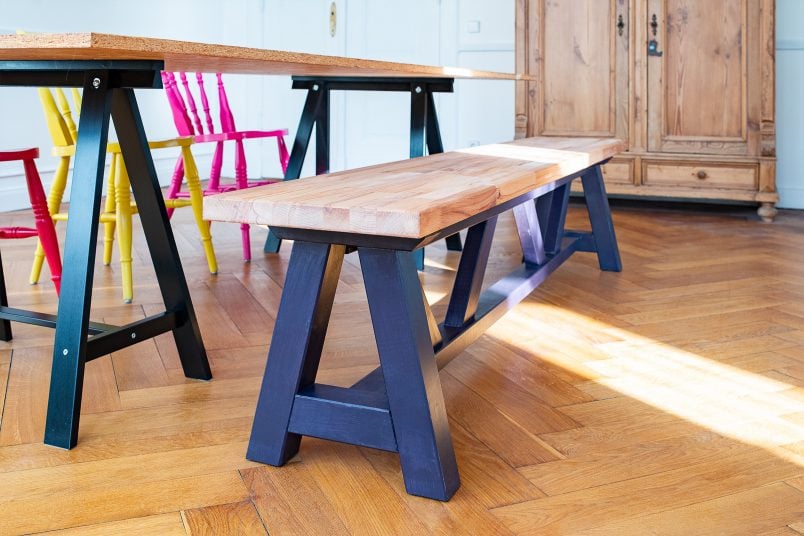
Inevitably, this comes with a few logistical challenges one of which is that we don't have enough chairs for everyone. Now, we obviously don't want our guests to have to sit on the floor which is why we decided to build a DIY dining room bench!
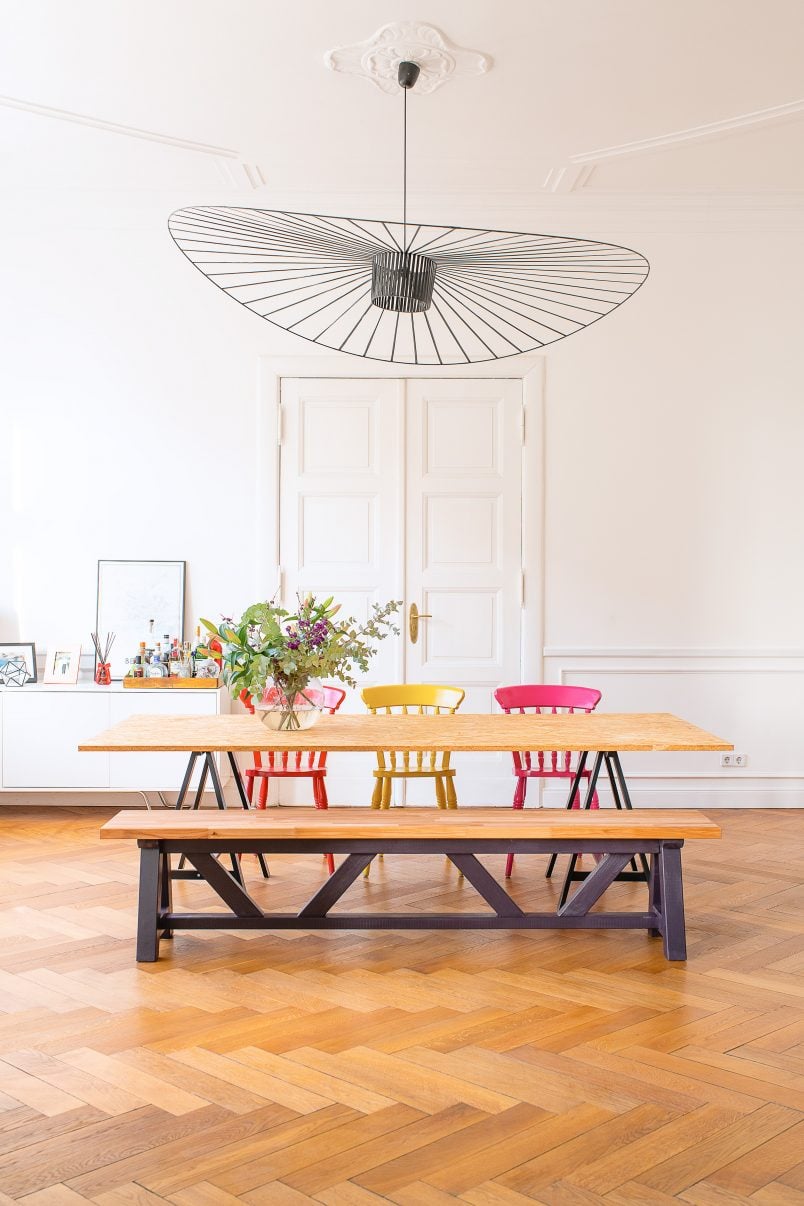
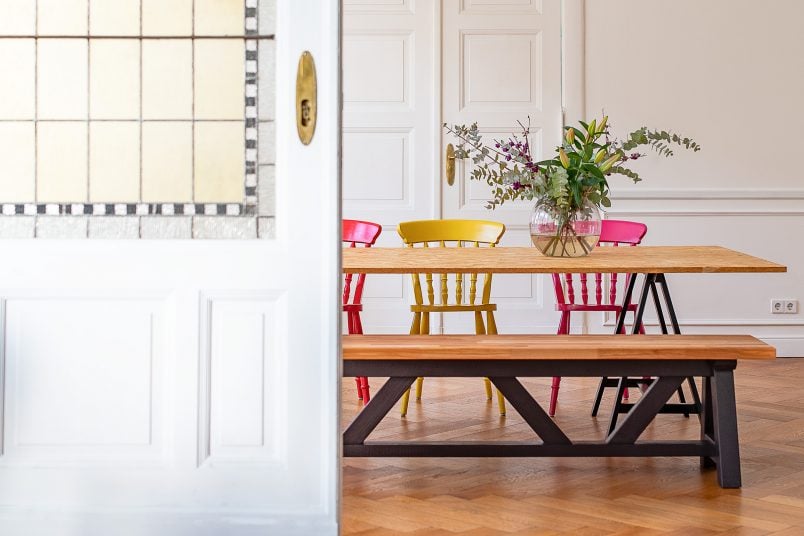
We're over the moon with how the bench turned out and it's definitely a project that was much easier to build than it looks! You only need basic DIY tools and just two different sizes of timber to build the whole bench!
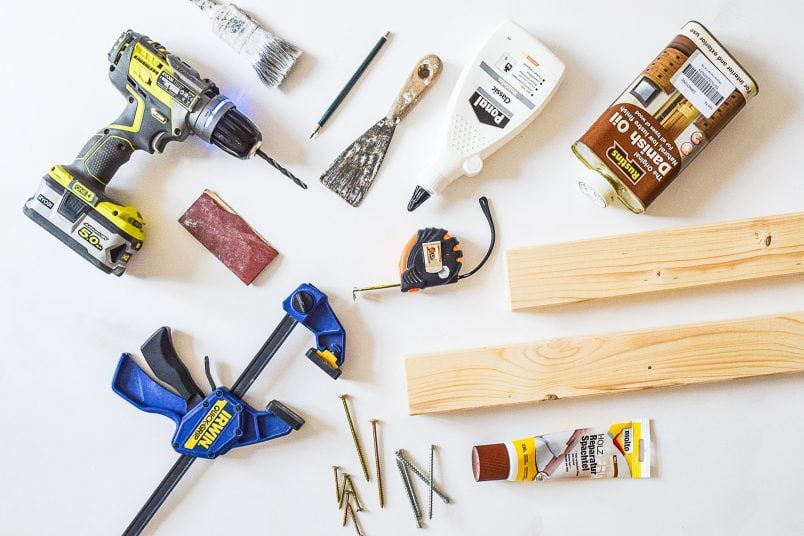
To build this DIY dining room bench you'll need:
* This post contains affiliate links. As always, we only recommend products we love and think that you will, too!
Supplies:
- Timber for the frame
- 2 x Smooth Planed Timber 250 x 7.4 x 4.4 cm
- 1 x Smooth Planed Timber 300 x 7.4 x 4.4 cm
- 1 x Smooth Planed Timber 240 x 7 x 7 cm
- Timber for the top
- 1 x 37.5 x 220 x 4 cm (we ended up using a 4cm thick piece but anything thicker than about 3 cm will work well, too)
- Wood screws (all 6 mm thick but different lengths)
- 10 x 12 cm long screws
- 8 x 10 cm long screws
- 16 x 7 cm long screws
- Wood glue (we always use this glue which is our favourite)
- Wood filler
- Sandpaper (120 grit & 240 grit)
- White Spirit (optional)
- Primer & Paint (we used Farrow & Ball Wood Interior Wood Primer Dark Tones and Farrow & Ball Paean Black Estate Eggshell to paint the bench)
- Oil, wax or varnish to finish the top of the bench (We used Danish Oil which is amazing on interior woodwork)
- Felt Protector Pads
Tools:
- Mitre saw (or a fine saw and mitre block)
- Cordless drill & drill bit
- Router (optional but we'd recommend it – we hired this one for the day which was fantastic)
- Clamps
- Filling Knife
- Paintbrush
- Tape measure & Pencil

This is how to build your DIY dining room bench:
1. Measure & Cut & Sand
Start by cutting all pieces of timber to the required lengths. Our bench is 2.20m long so if you're making a smaller or larger bench you'll just have to adjust the lengths of the long pieces of timber slightly. The size of the A-frame shouldn't change.
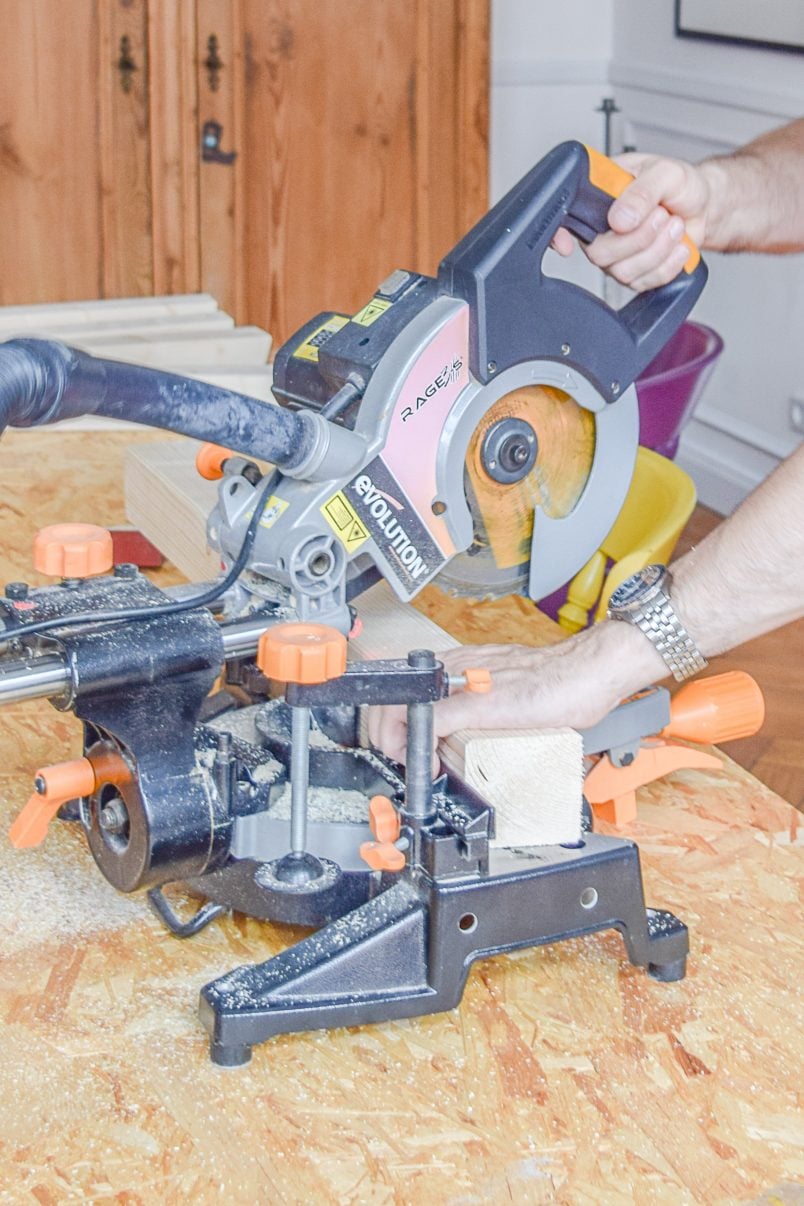
As always when cutting timber, we used our trusted mitre saw to cut everything into the lengths we need for our bench. Our mitre saw has served us well for probably hundreds of projects (we have this super budget-friendly one which we'd totally recommend) and is ideal for precise cutting.
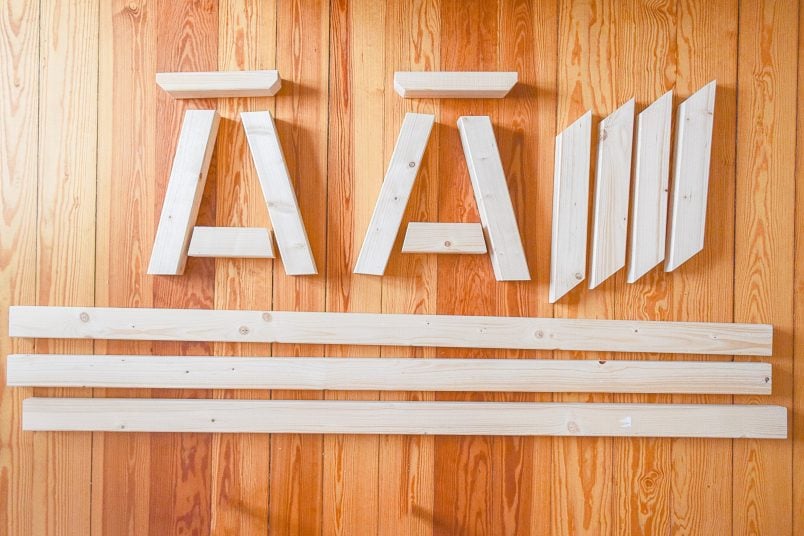
To make a bench like ours, you'll need to cut the timber as follows:
1 x 250 x 7.4 x 4.4 cm
- 1x 1812 mm (this will be the long bottom piece connecting the two A-frames)
- 1 x 403 mm with a 50° angle at each end (this will be one of the diagonal supports)
- 1 x 285 mm (this will be one of the top horizontal seat supports)
1 x 250 x 7.4 x 4.4 cm
- 1x 1812 mm (this will be one of the long top pieces connecting the two A-frames)
- 1 x 403 mm with a 50° angle at each end (this will be one of the diagonal supports)
1 x 300 x 7.4 x 4.4 cm
- 1x 1812 mm (this will be one of the long top pieces connecting the two A-frames)
- 2 x 403 mm with a 50° angle at each end (this will be one of the diagonal supports)
- 1 x 285 mm (this will be one of the top horizontal seat supports)
1 x Smooth Planed Timber 240 x 7 x 7 cm
- 4 x 456 mm with a 12° angle at each end
- 2 x 196 mm with a 12° angle at each end
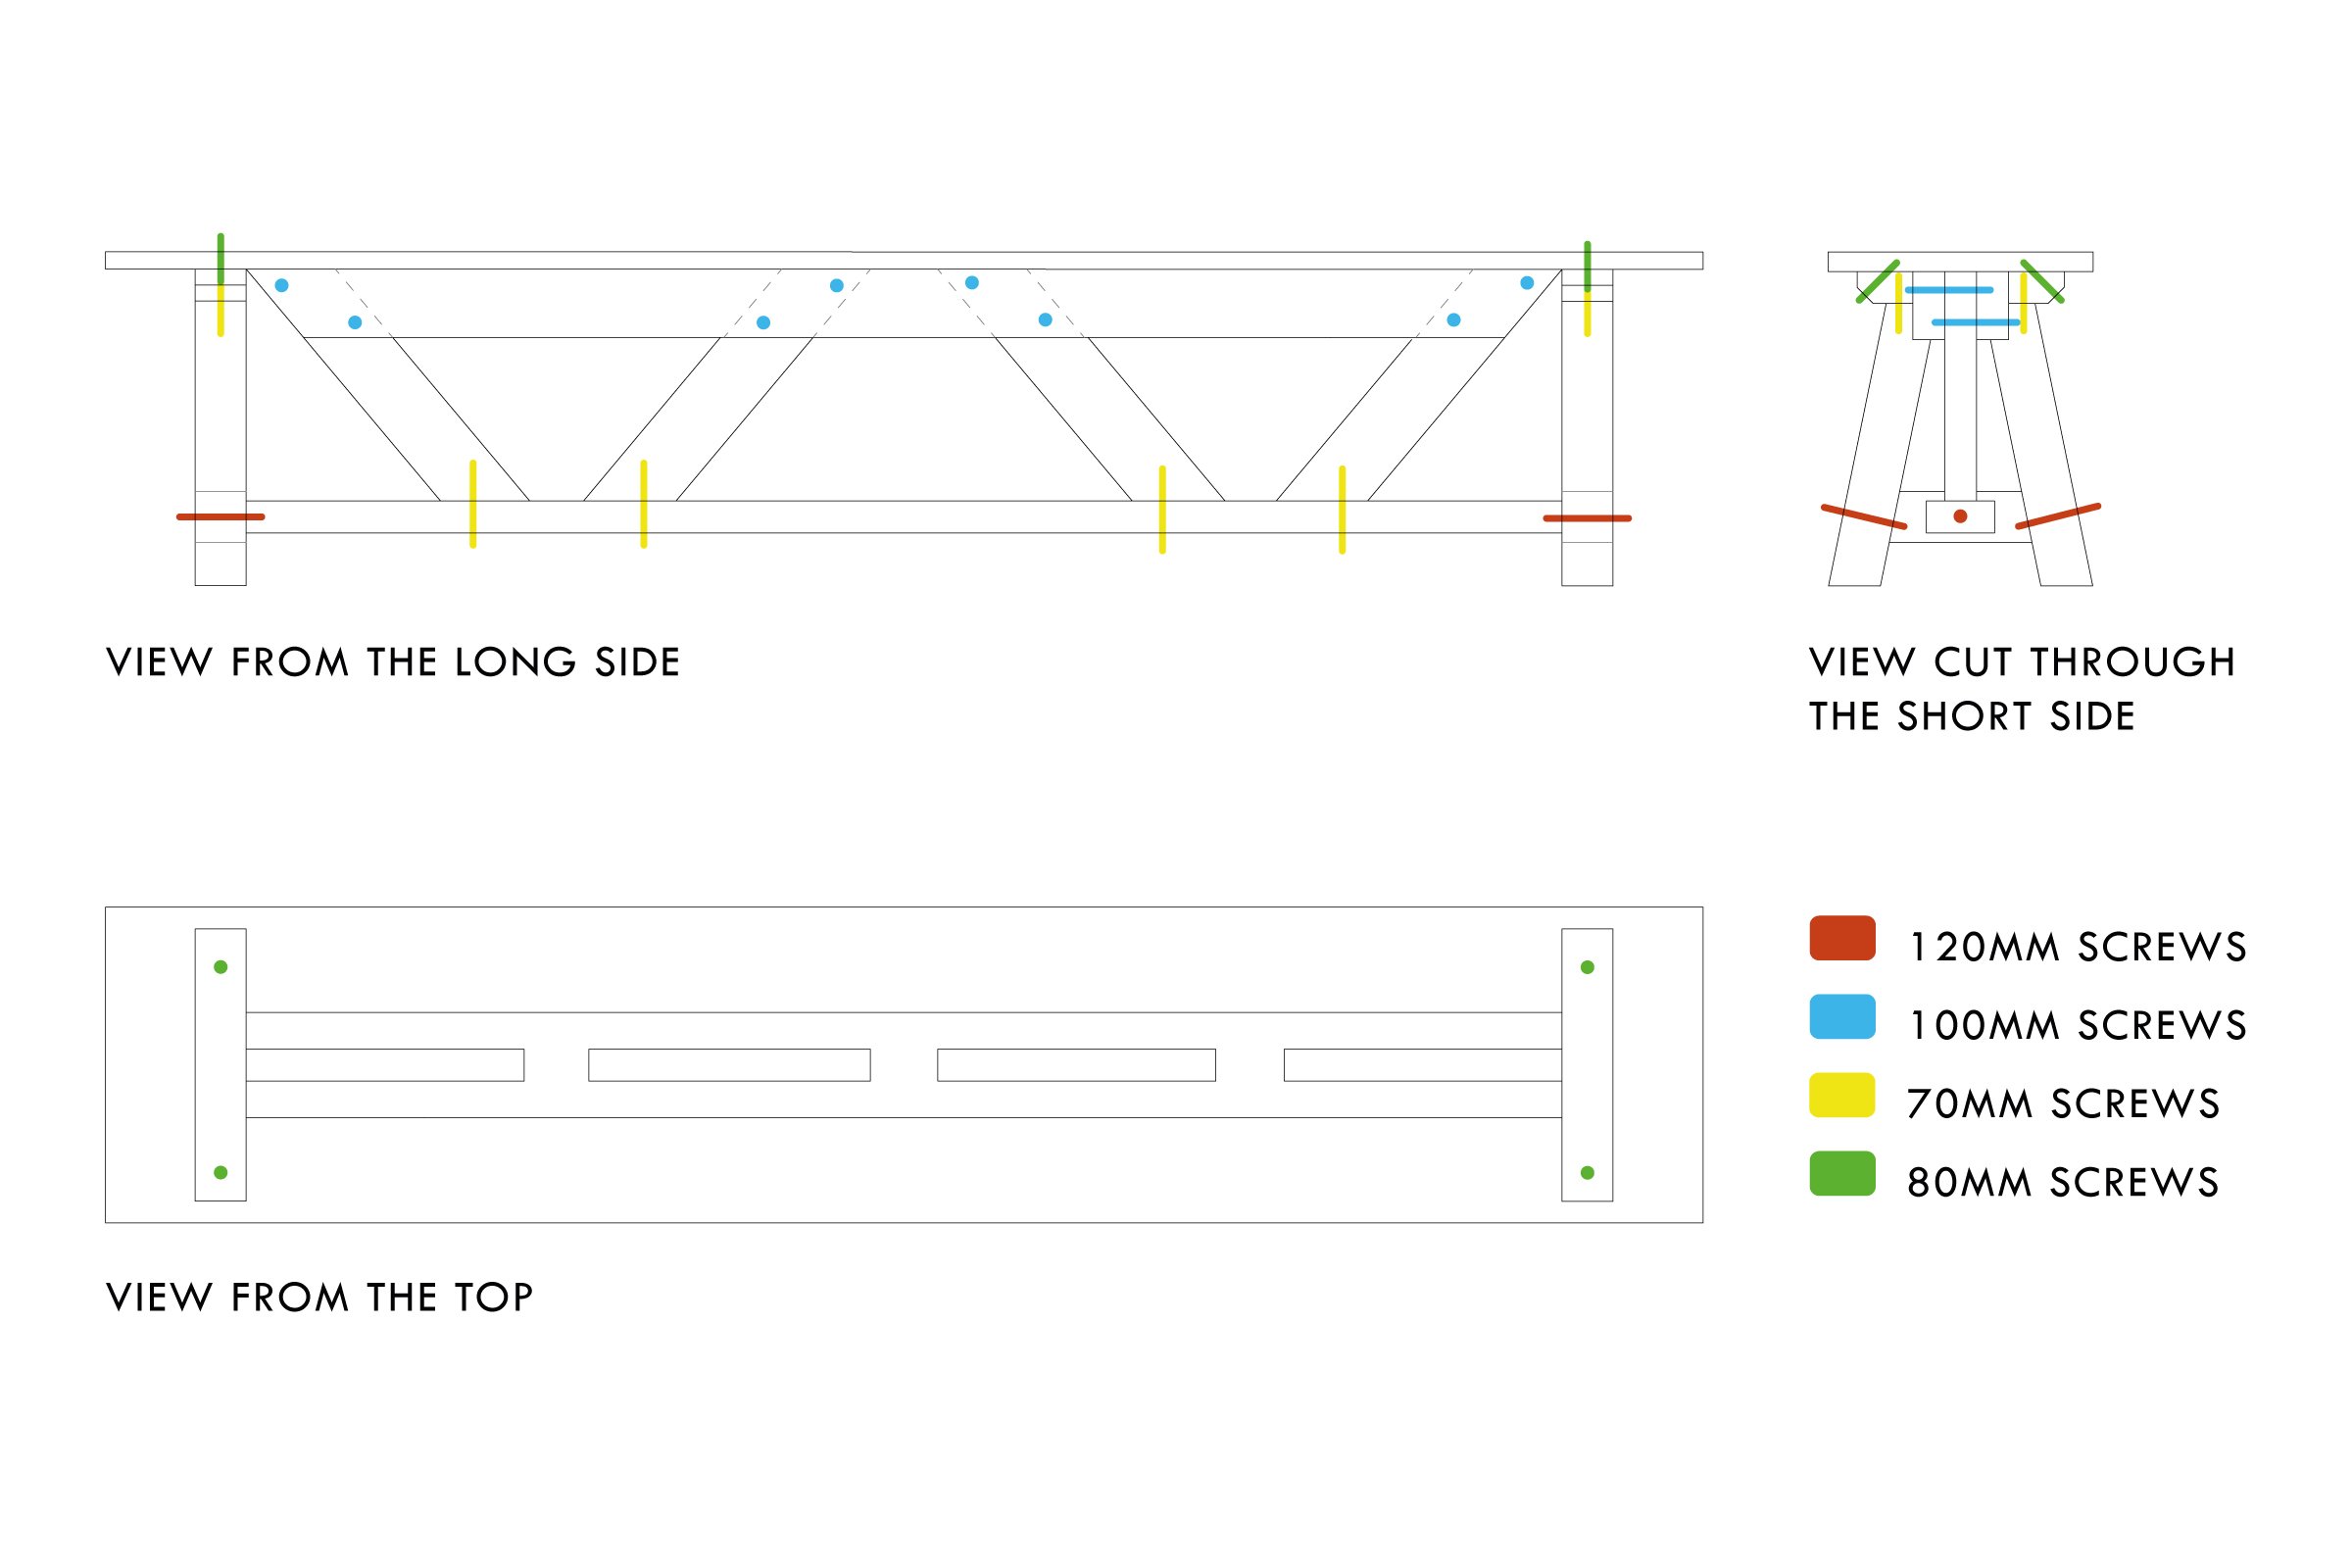
Whether you're cutting the timber by hand or with a mitre saw, it is really important to make sure that all of your pieces are cut as exact as possible. After all, you don't want to end up with a wobbly bench!
When you've finished all of the cutting, thoroughly sand your timber pieces with some 120 grit sandpaper to remove any rough edges and make sure that everything is smooth.
If you have any questions about sanding, you can see full guide on how to sand wood here. It includes a practical free cheat sheet so you always know which grit sandpaper to use for your project!
2. Assemble
For each of the two A-frames, lay out two of the posts (456 mm x 7 x 7 cm with a 12° angle) and one of the short pieces of timber (196 x 7 x 7 cm with a 12°angle) in the shape of an "A". Apply glue to the ends of the horizontal bar and attach it to the two longer pieces leaving a gap of 6 cm at the bottom.
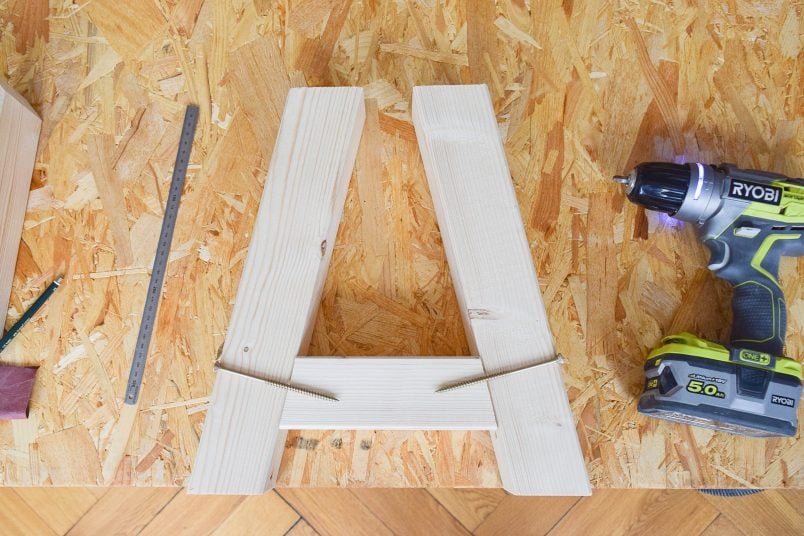
To make sure that the construction is really secure, screw two of the long 120mm screws through each post making sure to countersink the head of the screw.
Tip: Depending on the type of screws you're using, you may have to use a drill and countersink bit for this. Just remove the screw and use the countersink bit to create a little crater for the head of the screw to sit in before adding the screw again.
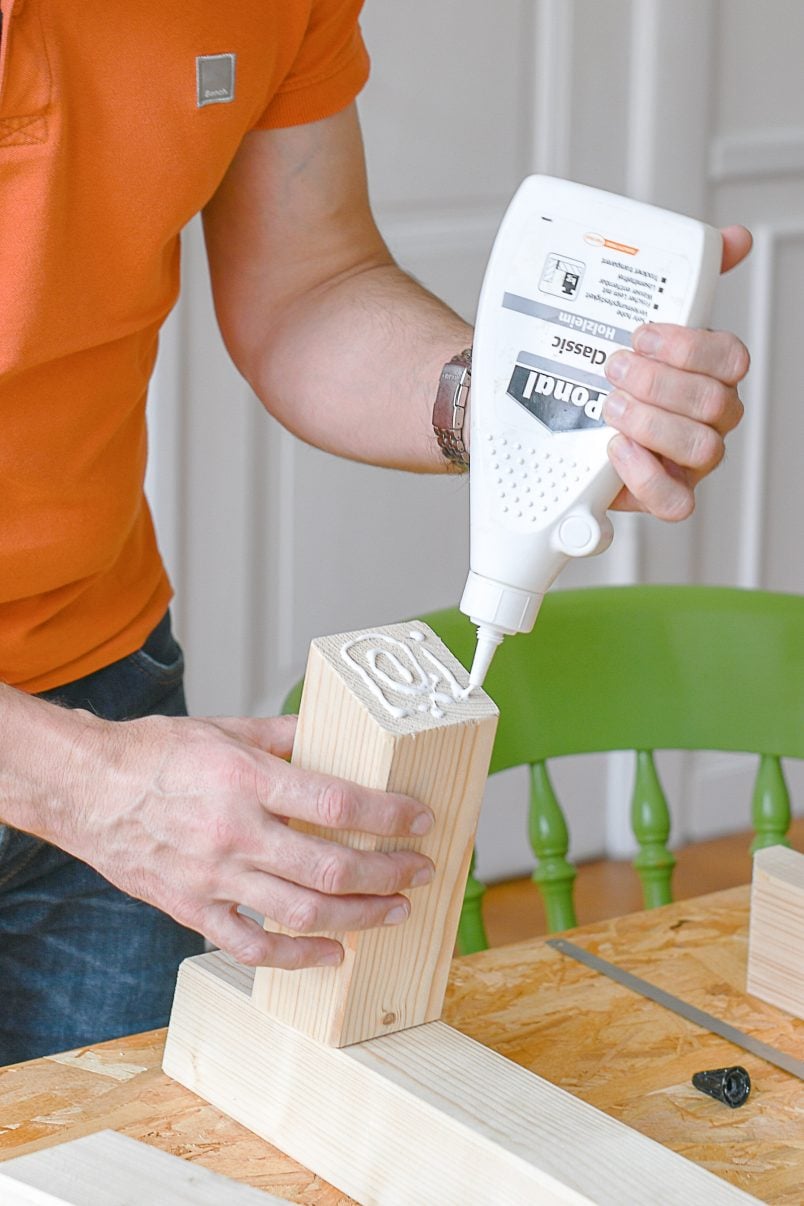
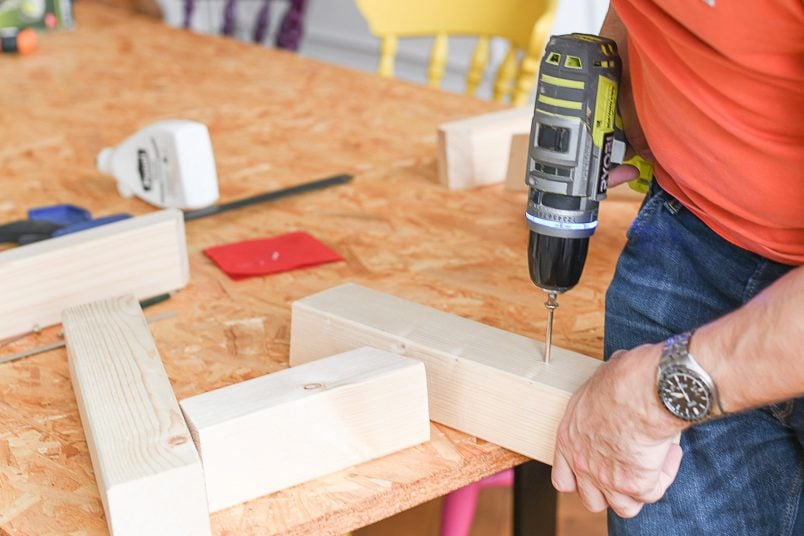
Next, it's time to attach the top of the A-frame. Place the timber for the top of the frame (285 mm x 7.4 x 4.4cm) on top of the first part of the frame that you've already built. Make sure it's exactly in the centre before attaching it with some wood glue and two 70mm screws.
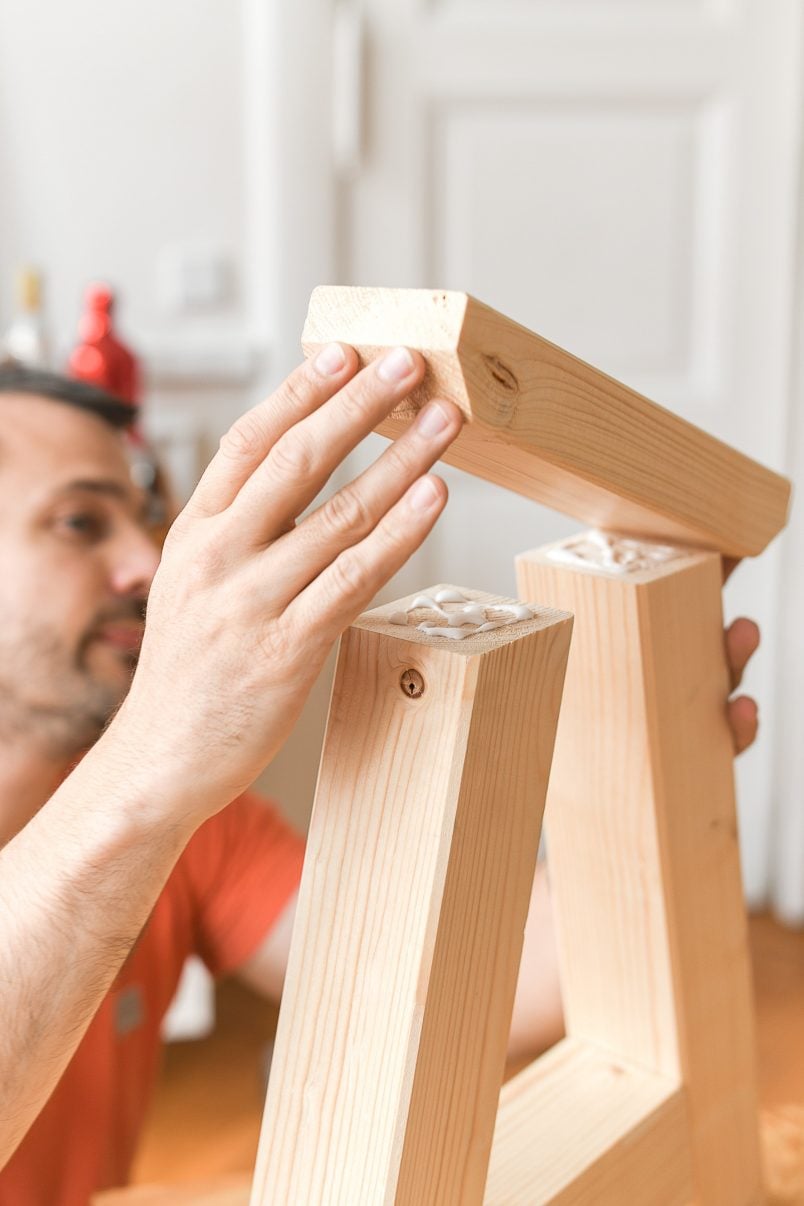
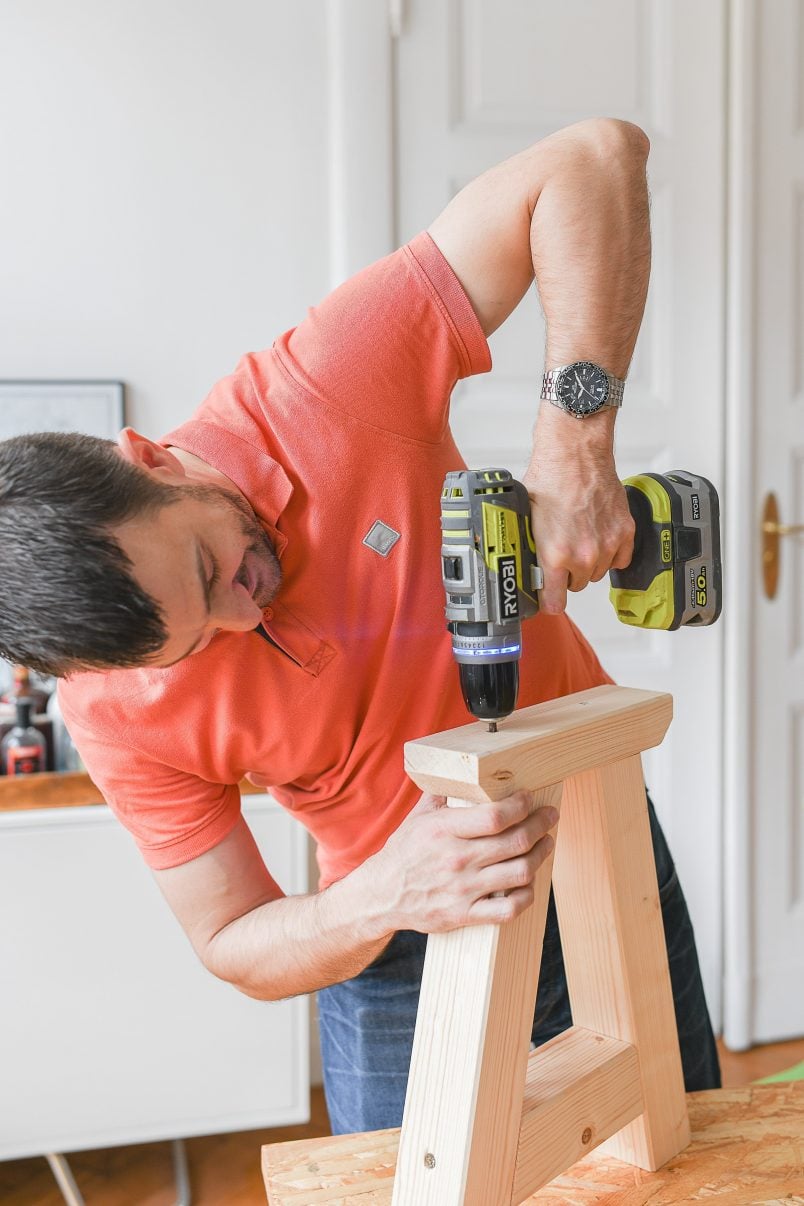
As you can see, we trimmed the edges of the top piece of timber at a 45°angle. It's totally optional but we think it finishes it off nicely.
Now that you've built both ends of the DIY dining room bench, you can start to assemble everything. Attach one of the long pieces of timber to the horizontal bars of the A-frame. As before, make sure that it's exactly in the centre before attaching it with some wood glue and a 120mm screw.
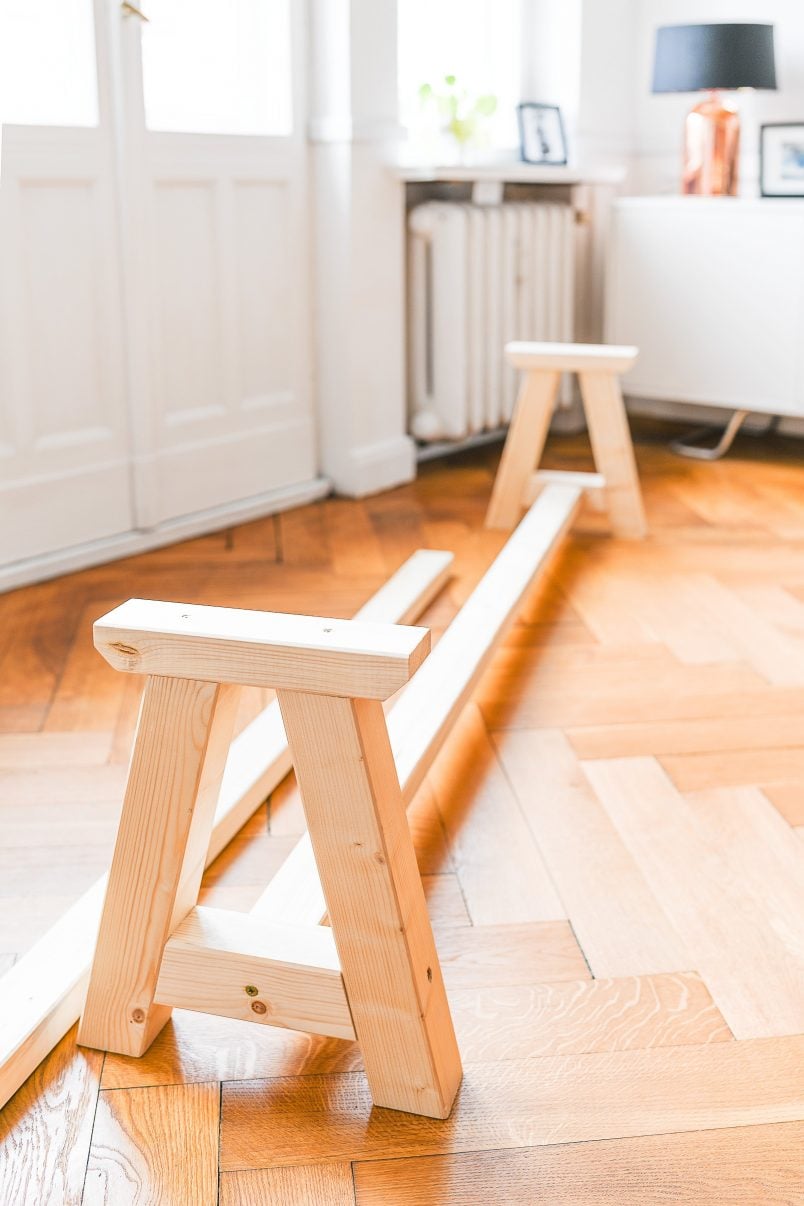
The last step is to attach the main horizontal support and diagonal beams.
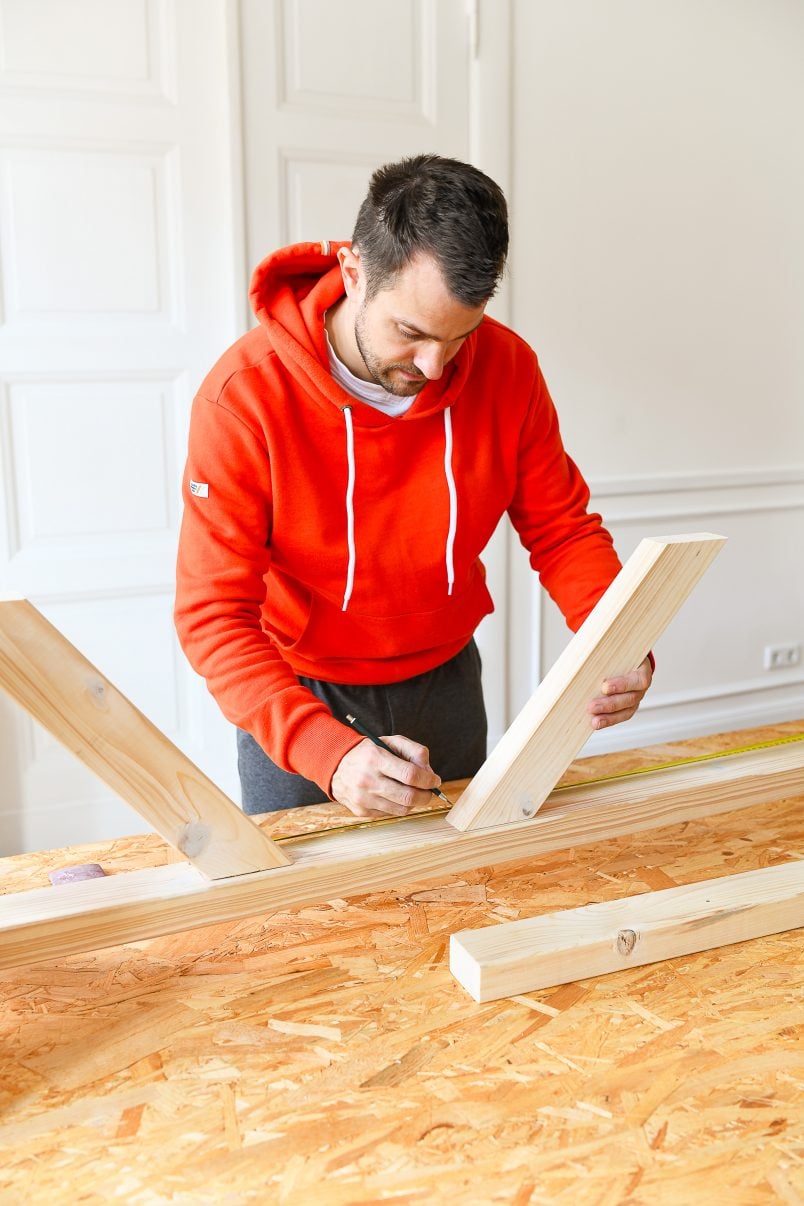
Turn the bench upside down and slot the four diagonal supports under the beam. Make sure to space them out equally and then glue and screw them in place as before using the 70mm screws.
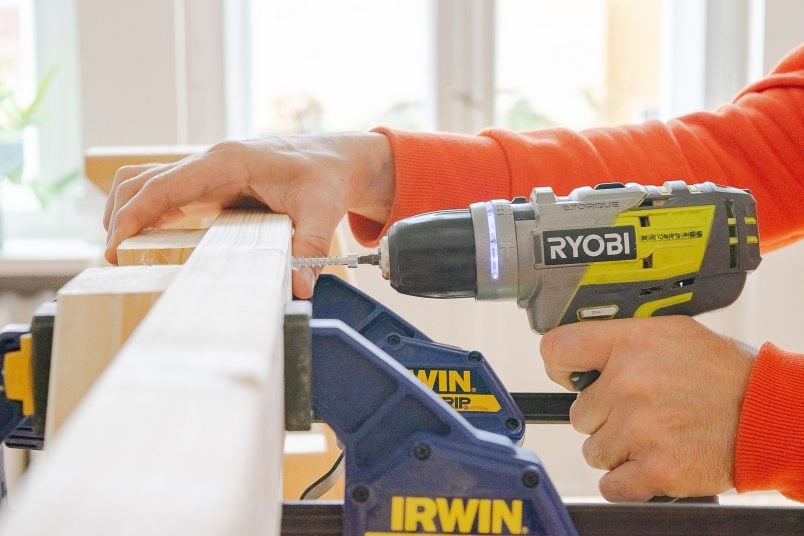
When everything has dried, turn your bench over again and attach the last two long pieces of timber that sit either side of the diagonal timber pieces you just attached and support the seat of the bench.
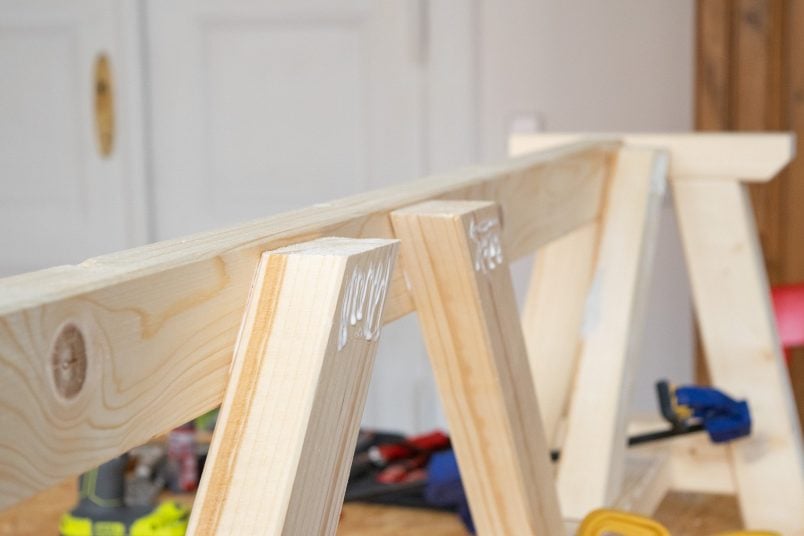
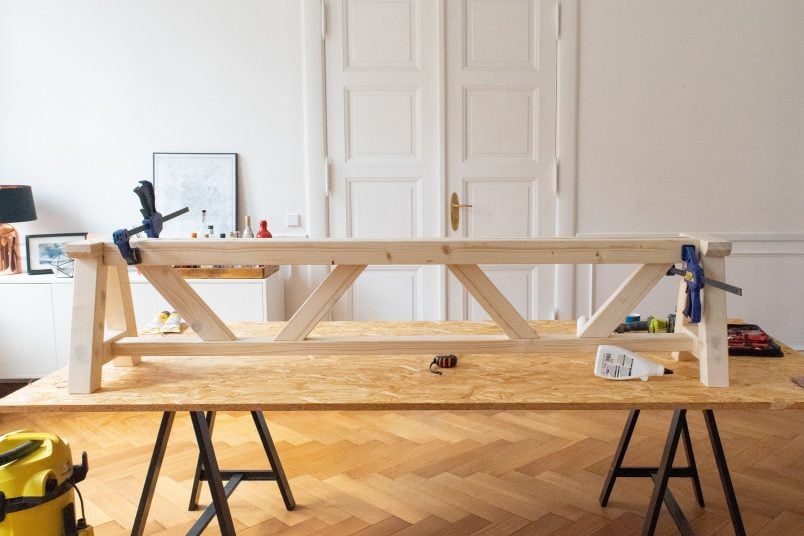
Use a couple of clamps to hold the timber in place while you glue and screw everything together. We added two rows of screws – one from each side of the bench.
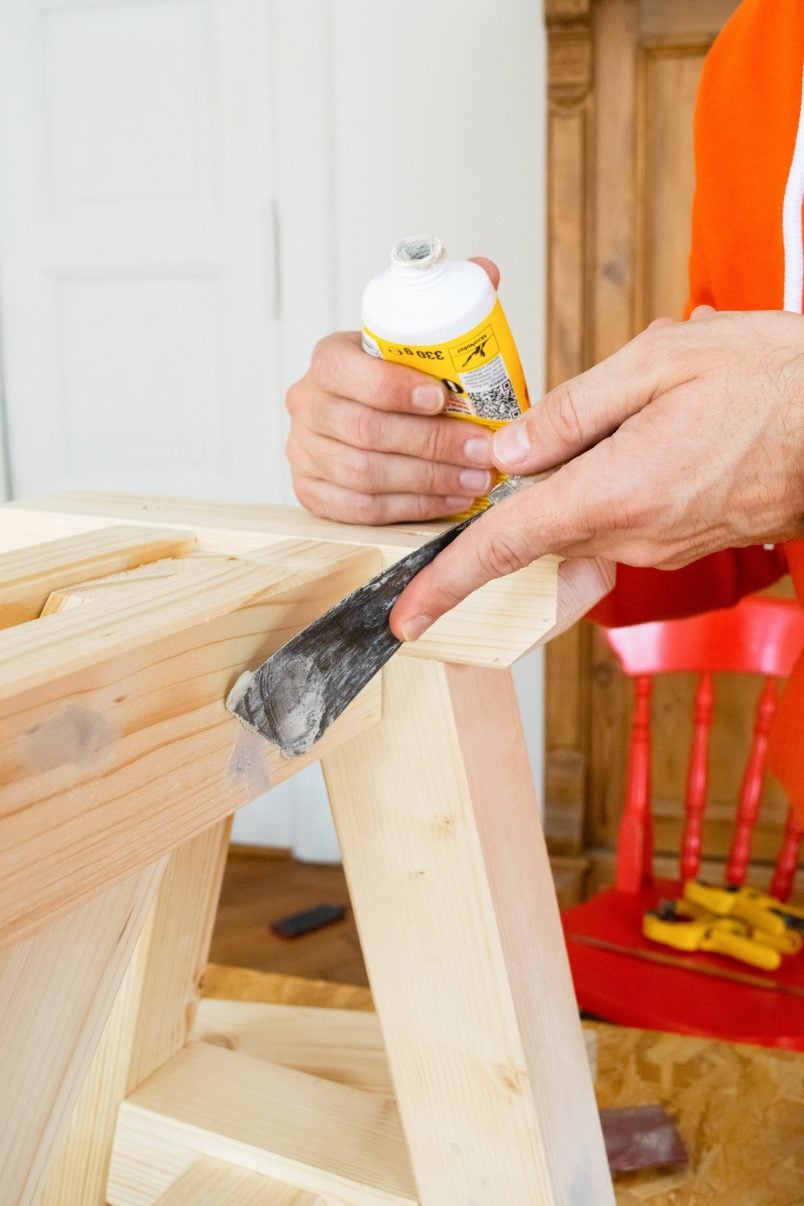
Let the glue dry completely before filling the hole where the screw head is with some wood filler and sanding everything so that it's completely smooth.
3. Paint
When you've finished assembling the frame, filling the holes and giving everything a sand, it's time to give it all a coat of primer and paint.
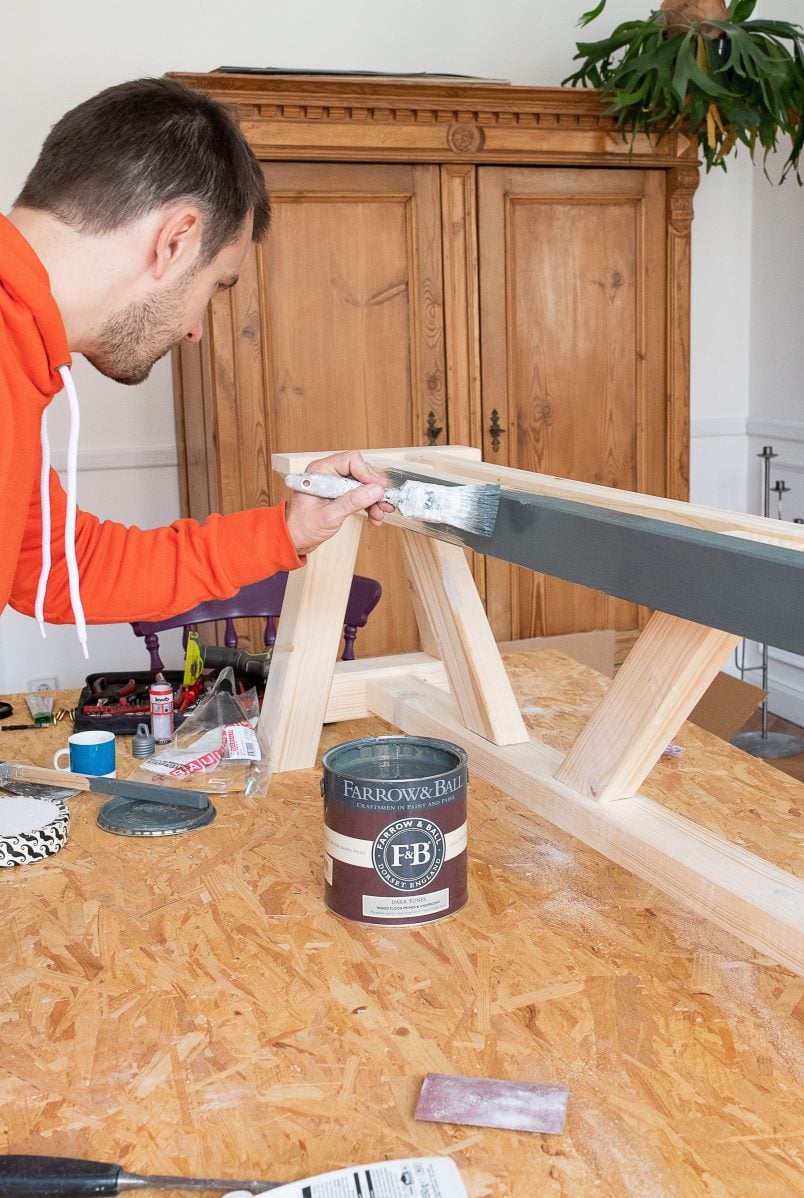
When the primer has dried, give the frame a light sand with some fine sandpaper (around 220 grit) to remove any imperfections. Make sure the surface is clean and dust-free before giving the frame a couple of coats of paint with your chosen paint finish. We painted ours Paean Black by Farrow & Ball which we had leftover from our front door makeover.
4. Add The Top
The last step is to attach the top of your DIY dining bench. Lay the piece of timber that will form the top of the bench onto a flat surface and place the frame of the bench into the centre of it.
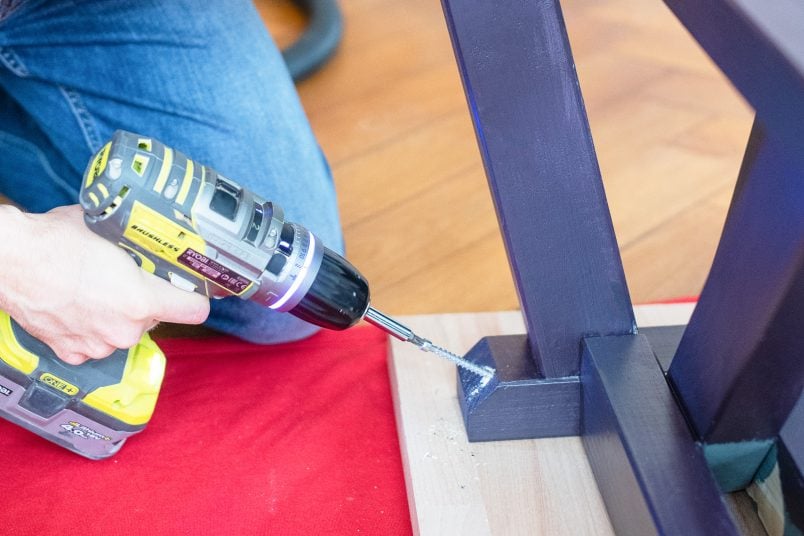
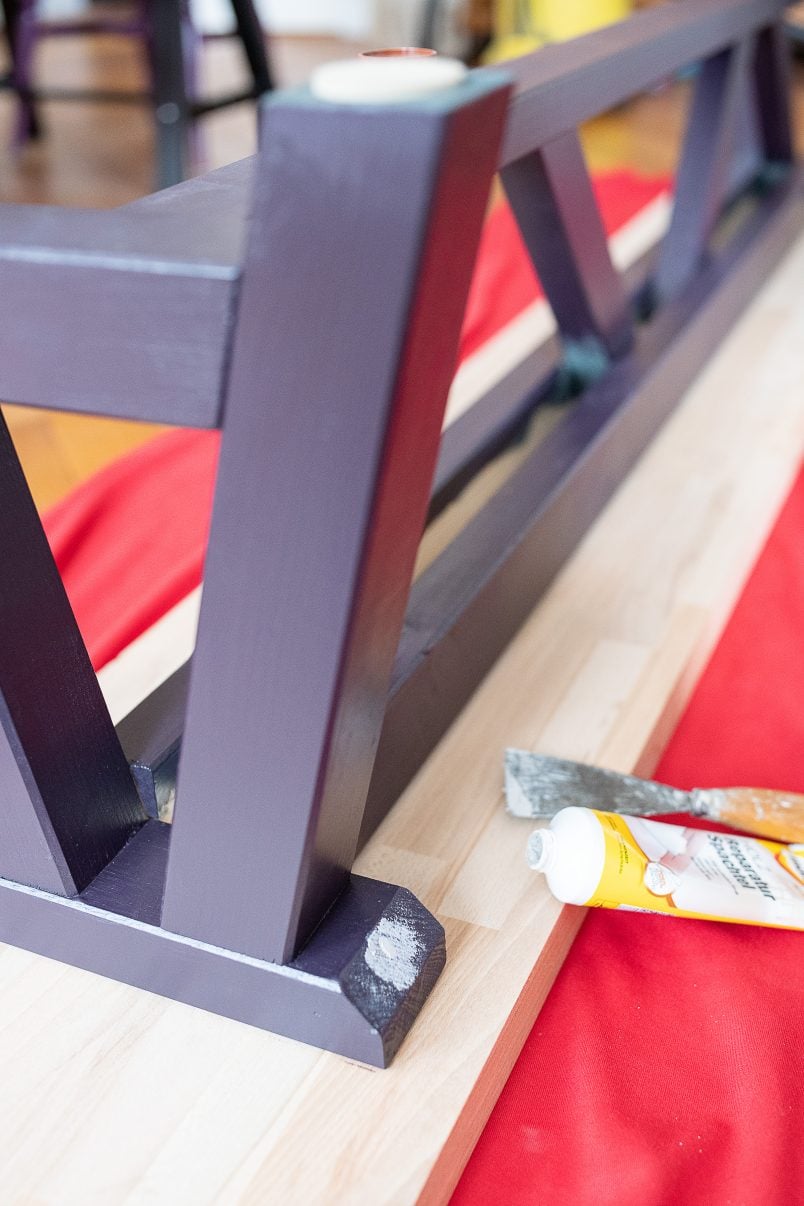
Clamp the top in place and then screw a screw through each of the horizontal bars to attach the frame and the top of the bench together. Then, just fill the last 4 screw holes with some wood filler and paint over the little patches of filler when it has dried.
5. Optional: Round The Edges
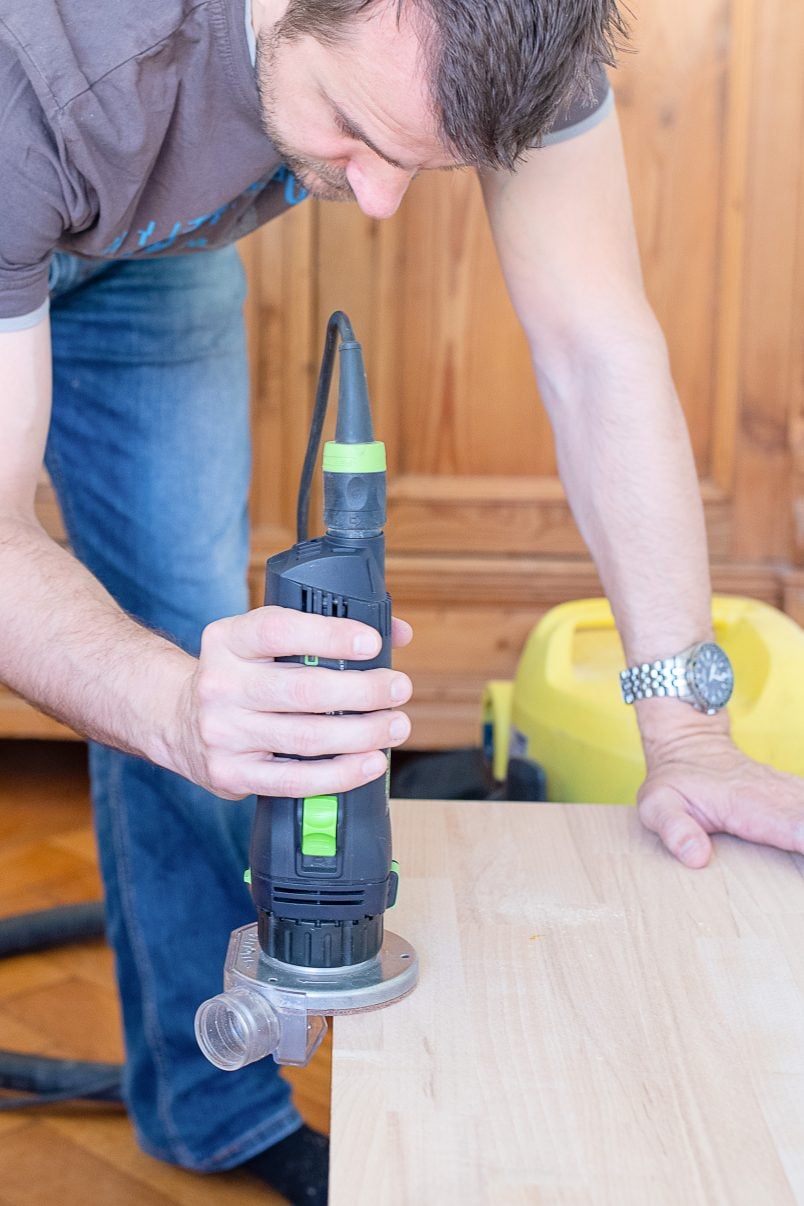
This step is optional and it's not something we'd originally planned on doing but decided that it would give a nicer and, more importantly, more comfortable finish to the bench. If you don't have a router (we hired this one to round the edges of the seat) you could smooth the edges with some sandpaper. Rounding the edges with a router is what we'd recommend though and it'll definitely give you a much more professional finish.
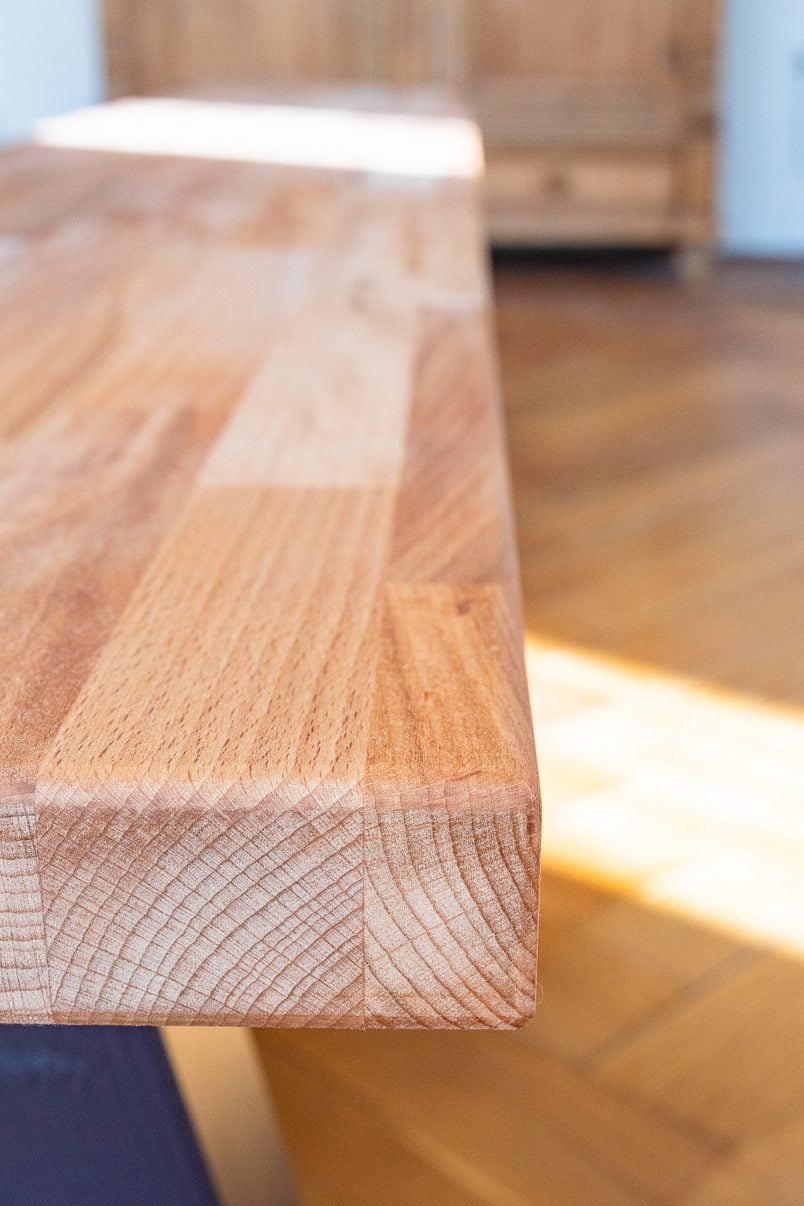
We opted for a plain curved edge which is nice and smooth and doesn't dig into your legs when you sit on the bench.
Routing the edge of something turns out to be a super simple thing to do. Just hold the router against the edge of the timber and let the machine do all of the work. After a couple of minutes, you'll be left with a perfectly rounded edge!
When you've finished smoothing the edge (either with a router or by hand), give the whole bench seat a sand with some 120 grit sandpaper and make sure it's completely smooth. Remove the sawdust and wipe the freshly sanded timber surface with a soft cloth and some white spirit to remove any last traces of dust before oiling the surface with some Danish oil.
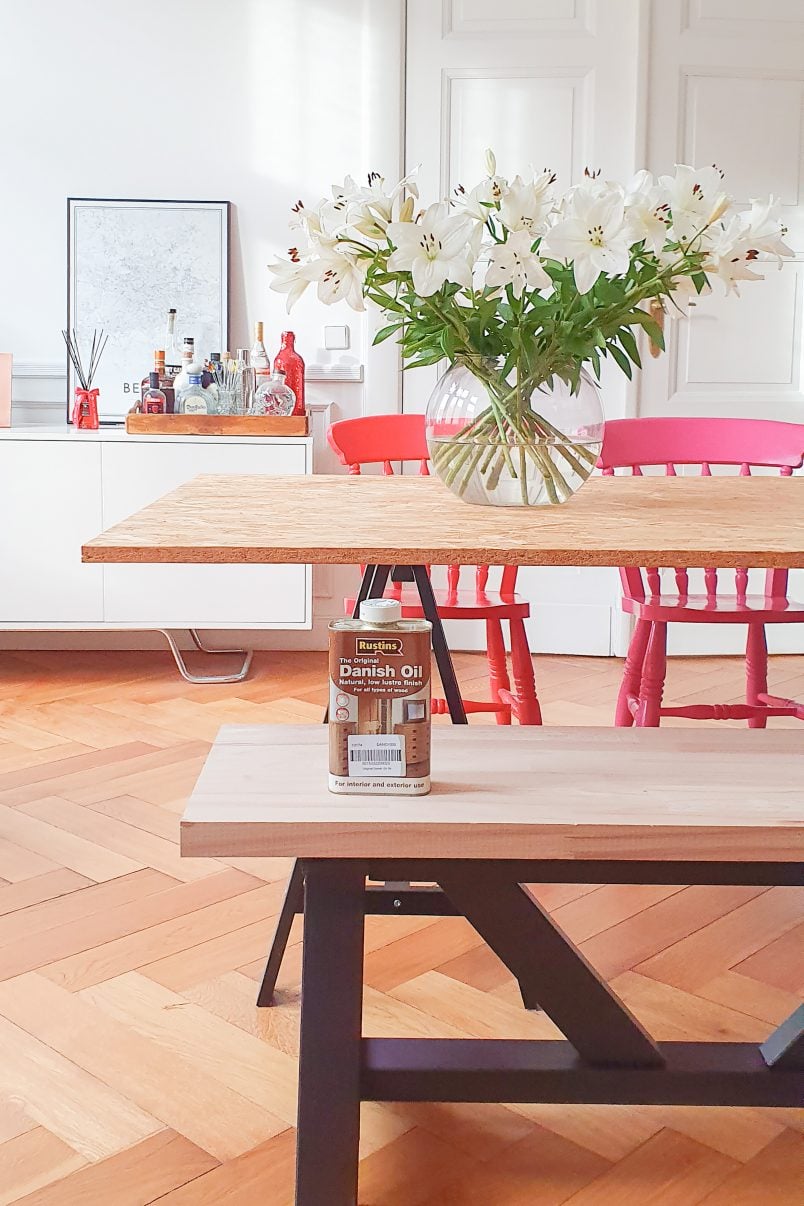
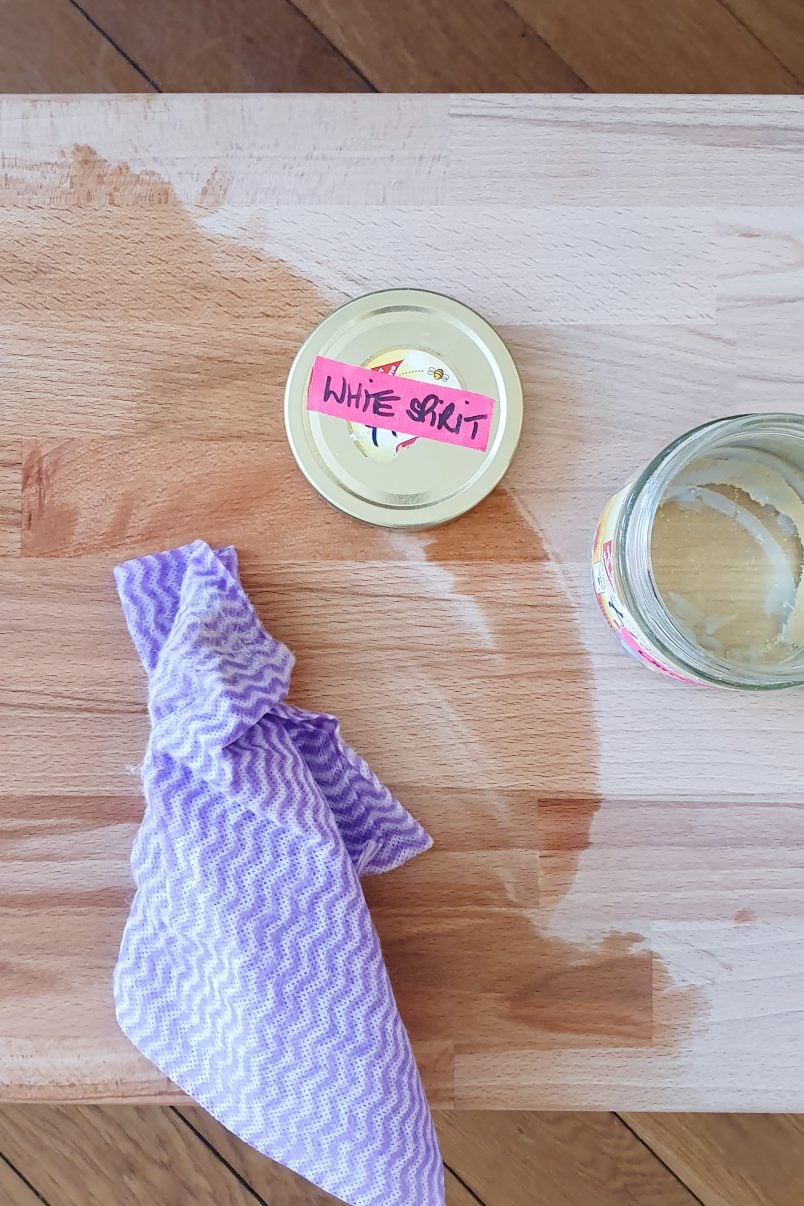
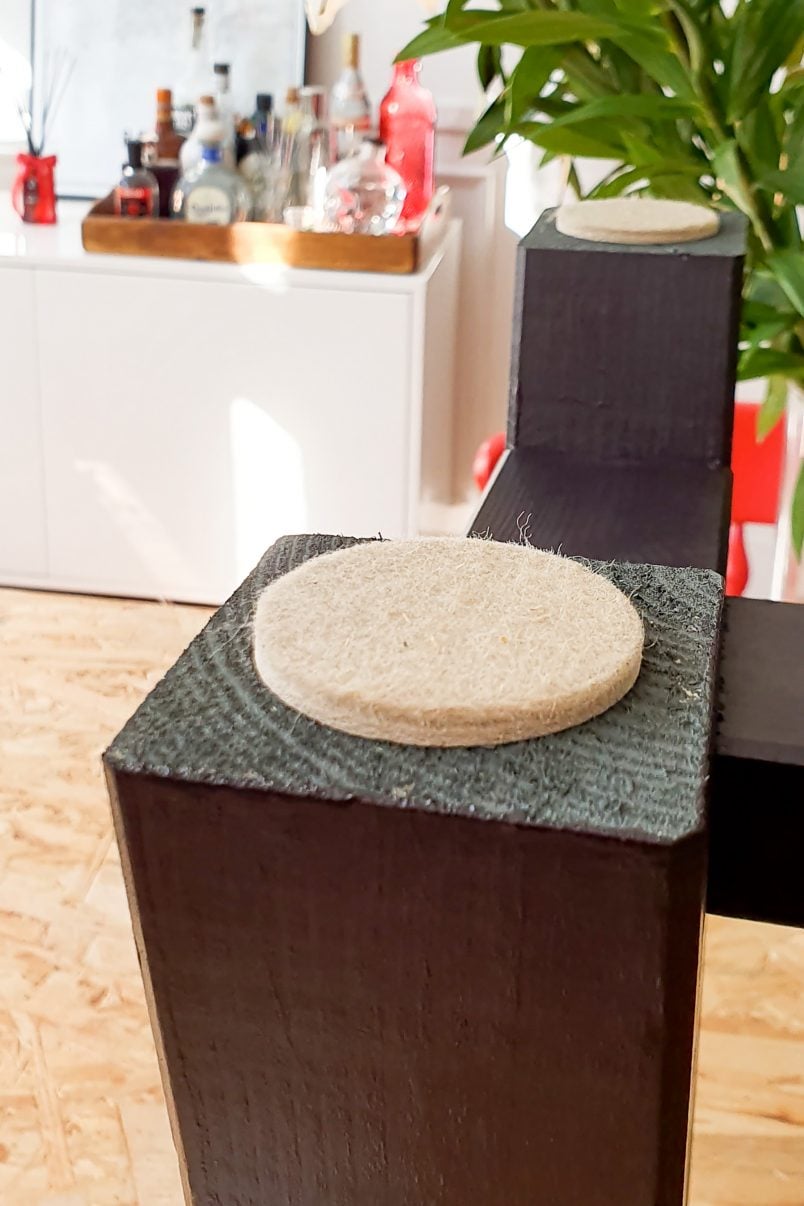
You'll find that the first coat of oil really soaks into the surface. Wipe off any excess with a clean rag and let it dry before applying a second coat of oil to give the seat some more protection. To finish off the whole project, we also added some little pads under the feet of the bench to protect our parquet floor.
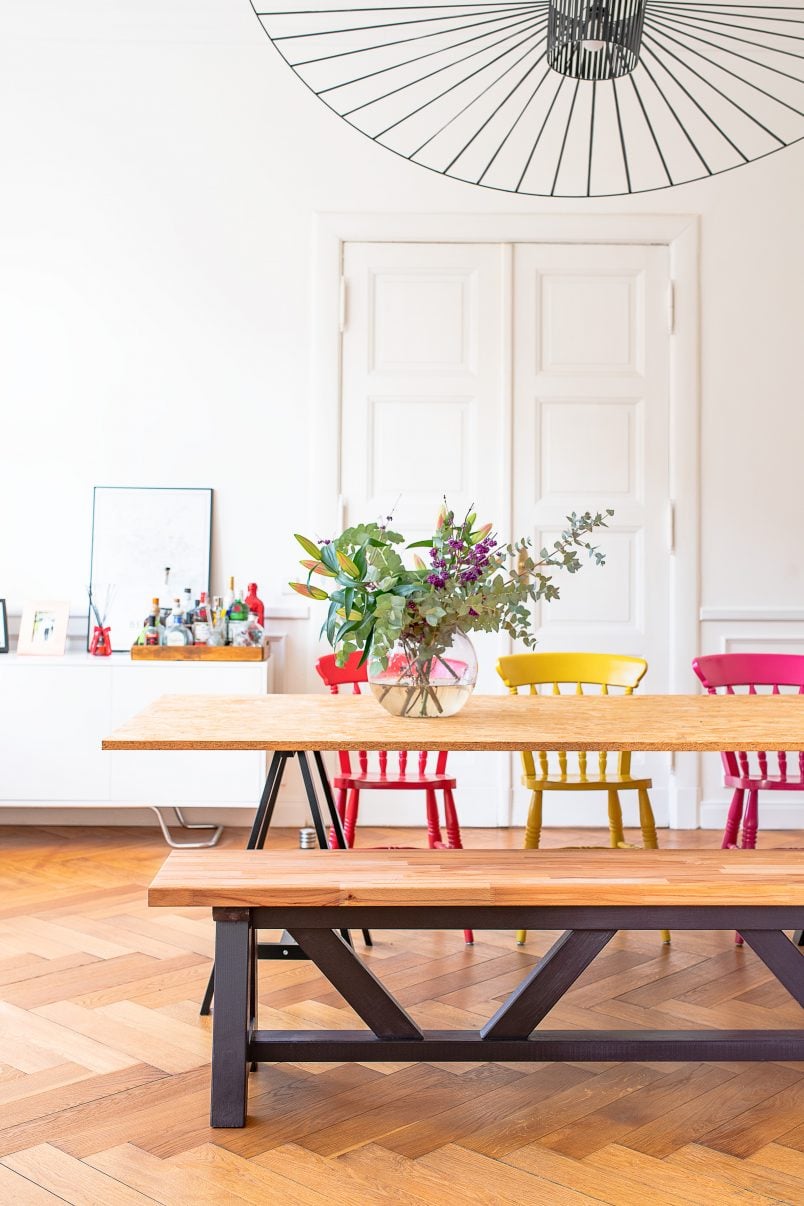
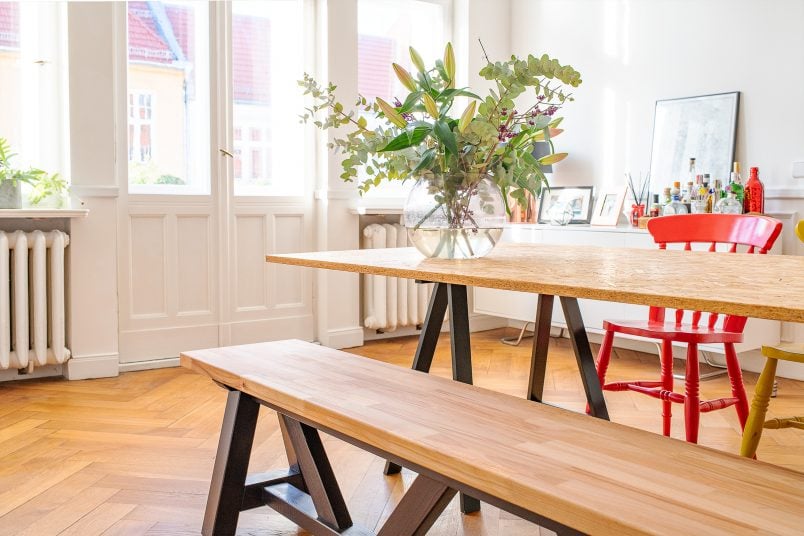
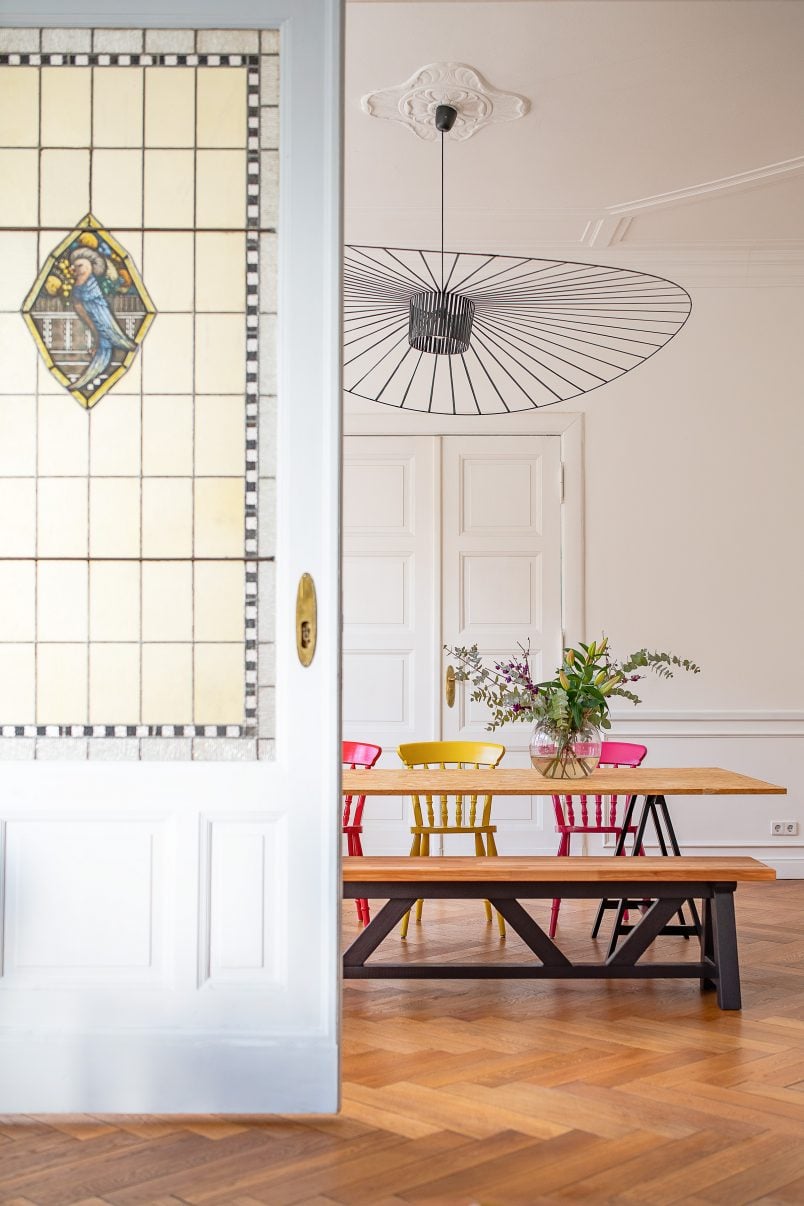
I'm absolutely in love with how this bench turned out. It's really sturdy and feels like it's even robust enough to cope with my family jumping on it!
As much as I love our new DIY dining room bench, I'll admit that it wasn't the quickest of projects to build. All in all, we spent about 6 hours assembling, painting and oiling it. I totally think it was worth it though especially as it was really affordable to build!
Cost Breakdown:
- Timber Top Of Bench – 35€
- Timber Main A-Frame Support – 10€
- Timber Bench Supports – 31€
- Screws – 10€
- Primer & Paint – roughly 15€
- Sandpaper – 1€
- Danish Oil – roughly 5€
- Felt Protector Pads- 2€
Total Cost: 109€
There's absolutely no way we would have been able to buy such a large and sturdy bench for just over 100€.
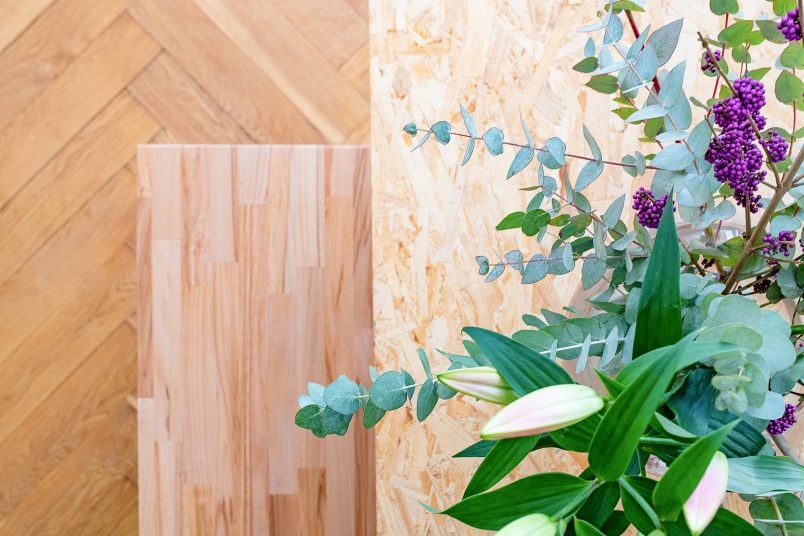
Now that we've updated our dining room seating, it's probably about time that we tackled our table situation. Our current solution (you can read about how we 'built' our table here) was only ever meant to be temporary but, as usual around here, temporary has turned into a bit more long-term than we'd planned.
In an ideal world, I would love the iconic oval Tulip dining table which I think would look perfect in our dining room but it's safe to say that it's way out of budget at the moment.
So, while we're saving for our new table (pop back in about 20 years or so) we will have to get creative. Luckily, I already have a couple of ideas that I think will look amazing – if I can figure out how to turn them into a reality that is.
For now though, our dining room is guest-ready and all I need to do now is work out where to sleep 13 people!
We'd love to know what you think of our new bench! Leave us a comment below!
Are you already planning Christmas? Do you have any tips on keeping the Christmas chaos at bay?
SHOP OUR DIY ESSENTIALS

Active Time 6 hours
Total Time 6 hours
Difficulty Moderate
Estimated Cost 100€
Instructions
- MEASURE & CUT & SAND
- Cut all pieces of timber to the required lengths with the mitre saw. Adjust the lengths of the long pieces of timber to make a bench to suit your space. The size of the A-frame shouldn't change.
- When you've finished all of the cutting, sand your timber pieces with some 120 grit sandpaper to remove any rough edges.
2. ASSEMBLE
- For the A-frames, lay out the pieces of timber in the shape of an "A". Apply glue to the ends of the horizontal bar and attach it to the two longer pieces leaving a gap of 6 cm at the bottom before screwing them together for additional stability.
- Attach one of the long pieces of timber to the horizontal bar of the A-frame with some wood glue and a screw as before. Repeat on the other A-frame.
- Next, attach the main horizontal support and diagonal beams.
- Turn the bench upside down and slot the four diagonal supports under the beam. Make sure to space them out equally and then glue and screw them in place,
- Finally, attach the last two long pieces of timber that sit either side of the diagonal timber pieces you just attached and support the seat of the bench by glueing and screwing them together.
- Fill the holes where the screw heads are visible with some wood filler and sand everything so that it's smooth.
3. PAINT
- When you've finished assembling the frame, filling the holes and giving everything a sand, it's time to give it all a coat of primer and paint.
- When the primer has dried, give the frame a sand with some fine sandpaper (around 220 grit) to remove any imperfections then give the frame a couple of coats of paint with your chosen paint finish.
4. ADD THE TOP
- The last step is to attach the top of your DIY dining bench. Screw through each of the horizontal bars to attach the frame and the top of the bench together. Then, fill the last 4 screw holes with some wood filler and paint over the little patches of filler when it has dried.
5. OPTIONAL: ROUND THE EDGES
- Round the edge of the top of the bench with a router before giving everything a final sand with some sandpaper.
6. OIL
- Remove the sawdust before oiling the surface with some Danish oil.
Notes
If you like this project, you will love these ones, too!
Source: https://www.littlehouseonthecorner.com/diy-dining-room-bench/


0 Komentar